First Steps
This is the first of a series of blogs about my experiences redoing Michael Hartl's Rails 3.0 Tutorial in 3.1. He published a 13th chapter that basically says try to move a file at a time from the completed 3.0 sample application until you get it working. I am going to take a different approach. I am going back to the beginning of the sample app and create it from scratch using Rails 3.1 and Rubymine. The only thing I will start with is all the gems needed. Below is the Gemfile:
I did the original tutorial using several editors: Vim, Textmate, BBEdit, and Aquamacs. Each had its features and problems. None of them could be classified as a full featured IDE. I have done enough large enterprise projects using Java that realize the value of an IDE. Even in my Smalltalk days the VisualWorks editor could be classified as an IDE, and it was a dynamically typed language also. So I decided to try Rubymine.
The first step was getting Rails 3.1 installed. There was my first surprise. I had upgraded the Mac OS to Lion and upgraded Xcode since the last time I had tried to install a new version of Ruby or Rails. The install failed and it turned out I needed to install the rest of Xcode so that gcc would be put in /usr/bin as well as /Developer/usr/bin/gcc.
So here is my starting environment:
- Ruby 1.9.2p290
- rvm 1.8.3
- Rails 3.1.0
- rake 0.9.2
- All the gems in
Gemfile as well.
First step is install Ruby 1.9.2p290, make sure that gem and rake is up-to-date. Then use rvm to setup a dedicated gem set.
In Rubymine set the Ruby SDK and gems
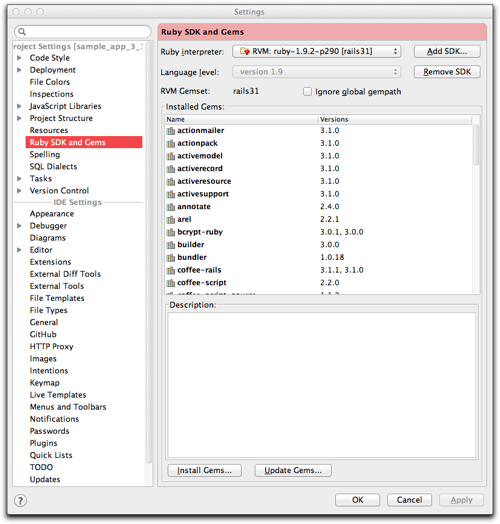
Then create a new Rails project.

Note we are skipping Test::Unit files.

Then setup the Gemfile and use Tools menu to Bundle install.
Now to use Rspec. First one needs to [Reload generators list] to load the rspec:install generator (it is there because of the Gemfile but the install did not update the generators list). Then select spec:install
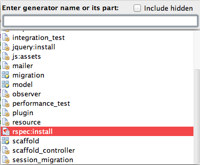
And no arguments

My .gitignore file looks like this
.bundle
db/*.sqlite3
log/*.log
tmp/
.sass-cache/
webrat.log
*.swp
*~
.DS_Store
.idea/*
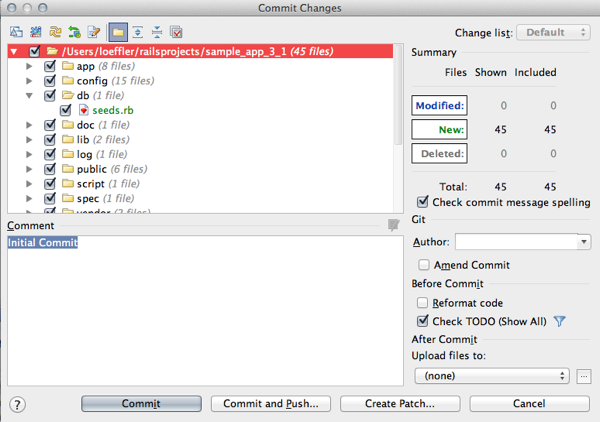
We now have the base to build on and we are ready to make our first git commit. The Version Control menu includes a menu item for initial setup. By selecting the git init you can put the entire directory under git version control. Once I used git init version control menu items changed to support git. See Rubymine's online documentation. All that was left was adding the files and doing the initial comment.
The uncommitted files:
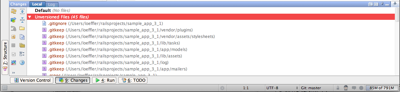
After adding files and switching to folder view:
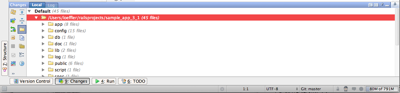
Commit window: